
Small Town Origins
Situated in the middle of rural America, Iowa houses Old Masters. Since 1926, the company has been developing high-quality items. A Dutch immigrant initiated the business. Their simple beginnings started creating paint formulations in a garage. With time, they started selling products across several different industries. The company mission is simple, to produce a quality solution that surpasses client expectations. This was the original company mission that holds today.
Old Masters Brand
Old Masters utilizes a traditional artisan notion to develop its stains and finishes. These products are meant to seal, protect and celebrate the skill and experience of master craftspeople.Preserve your cherished woodcraft into timeless, lasting pieces. We are dedicated to this philosophy and notion with our company tagline, “Craftsman Quality Finishes.”
Rely on Old Masters Topcoat
Applying a particular topcoat is the best way to produce long-lasting, durable protection for your adored woodwork. Don’t make it possible for water or alcohol damage, surface abrasions or chipping, or marring to ruin your woodwork. Work with a clear topcoat finish to help keep items protected from everyday wear and tear. Old Masters external finishes feature UV security. Keep your wood pieces safe from exposure to Mother Nature, water and wind.
Make certain you choose the right topcoat as each clear finish is exclusively formulated. The Gel Polyurethane is an excellent option for antiques and furniture finishes; however, this product would perform poorly as a flooring product. Before selecting a topcoat, read the labels to pick a suitable product. The Old Masters’ clear finish selection guide may help you choose the right product for your particular job.
You can make your exterior and interior surfaces last for a long time by protecting them adequately. Mother Nature will continuously challenge your exterior finishes. Typically, we advise applying clear outdoor coatings every couple of years. Features that are constantly in the sun may need to have a clear coat reapplied each year for best results.
Protect With a Topcoat
A protective, clear topcoat is essential for keeping your wood staining and finishing items secure.
Be certain that the location is well ventilated. Take any dust away by washing the surface with a damp rag. Constantly stir the product thoroughly but never shake it before using. Projects that require more than one container are suggested to combine containers and mix to create a uniform gloss before application. Testing the finish on a hidden surface can help you assess if adequate adhesion is occurring. Do not use in windy locations or direct sunlight. Avoid using tack cloths whenever using clear, water-based finishes.
We recommend taking the following steps when applying a clear finish to prepared wood:
1. Apply with 2-inch to a 2-and-a-half-inch China bristle paint brush.
2. Avoid producing bubbles by applying in even, lightweight coats. Go with the path of the grain and use as few brush strokes as possible to create a nice coating. Thin applications are necessary as any thicker coats of finish can cause dripping or wrinkling once dried.
3. Permit the finish to dry completely. Each product is different so check the packaging for drying times. The time may differ depending on the type of finish you use.
4. Gently sand your item with 220 grit sandpaper in between finish coats for proper adhesion. The gentle sanding allows the finish to benefit from better adhesion and a cleaner result. Take extra drying time into consideration in the event your sandpaper gets gummed up. Take sanding particles away for a crystal clear finish.
5. Reapply product and read label instructions concerning recoating times. A minimum of 2 coats is preferred for interior applications. Usually, 3 coats are advised for exterior project shielding. There is precise information particular to each product on the instruction label.
6. Allow the item to experience a 24-hour rest period at least before exposing surfaces to marginal use. Be far more careful for the first week after application as this is how long some products take to cure fully. For anyone who is treating floors, refrain from heavy traffic. After working with your last finish coat, wait a few days or a the least 72 hours ahead of placing the furniture back. Don’t slide the furniture as this will leave scratches. Ask for help and gently lift it into the desired location. Wait at least one week before cleaning the floors or adding rugs.
Helpful, Handy Hints
Just before the finish dries, use a firm-bristle artist brush to take away any lint that may have affixed itself.
Make sure you are working in a dust-free atmosphere to keep your finished item free from spots. There are lots of vapours in solvent-based finishes so exclusively use in well-ventilated settings.
Call Us Today
778.860.6191
Articles & Resources
 Where to get Painter's Tape
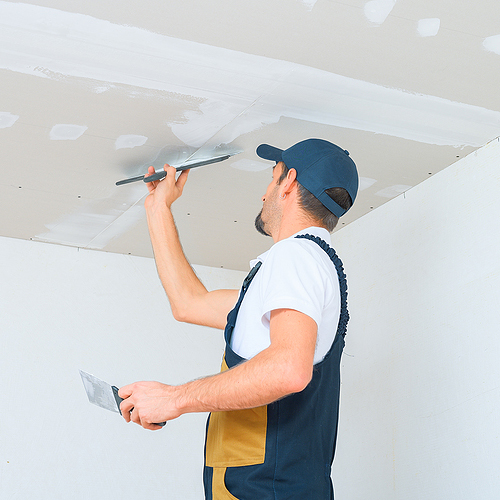 Drywall Maintenance Tips
 Picasso Paint Brushes Canada